In DIY & Thrift
DIY Home Decor Ideas for Beginners: 8 Easy Projects That Look Surprisingly Stylish

Have you ever saved a DIY project on Pinterest only to realize halfway through that it requires five power tools, professional painting skills, and a workshop bigger than your living room?
Yeah... me too.
That's why I wanted to make this guide different.
If you're completely new to DIY, you don't need to start by building furniture or knocking down walls. Some of the most satisfying home projects are also the simplest. They don't require years of experience, cost a fortune, or leave you wondering where you went wrong.
The goal isn't to create something perfect. It's to create something that makes your home feel a little more personal.
In this guide, I'll walk you through eight beginner-friendly DIY home decor ideas that are genuinely worth trying. Each project includes clear instructions, a few tips I've learned along the way, and advice on how to style the finished piece so it looks intentional rather than homemade.
Let's get started.
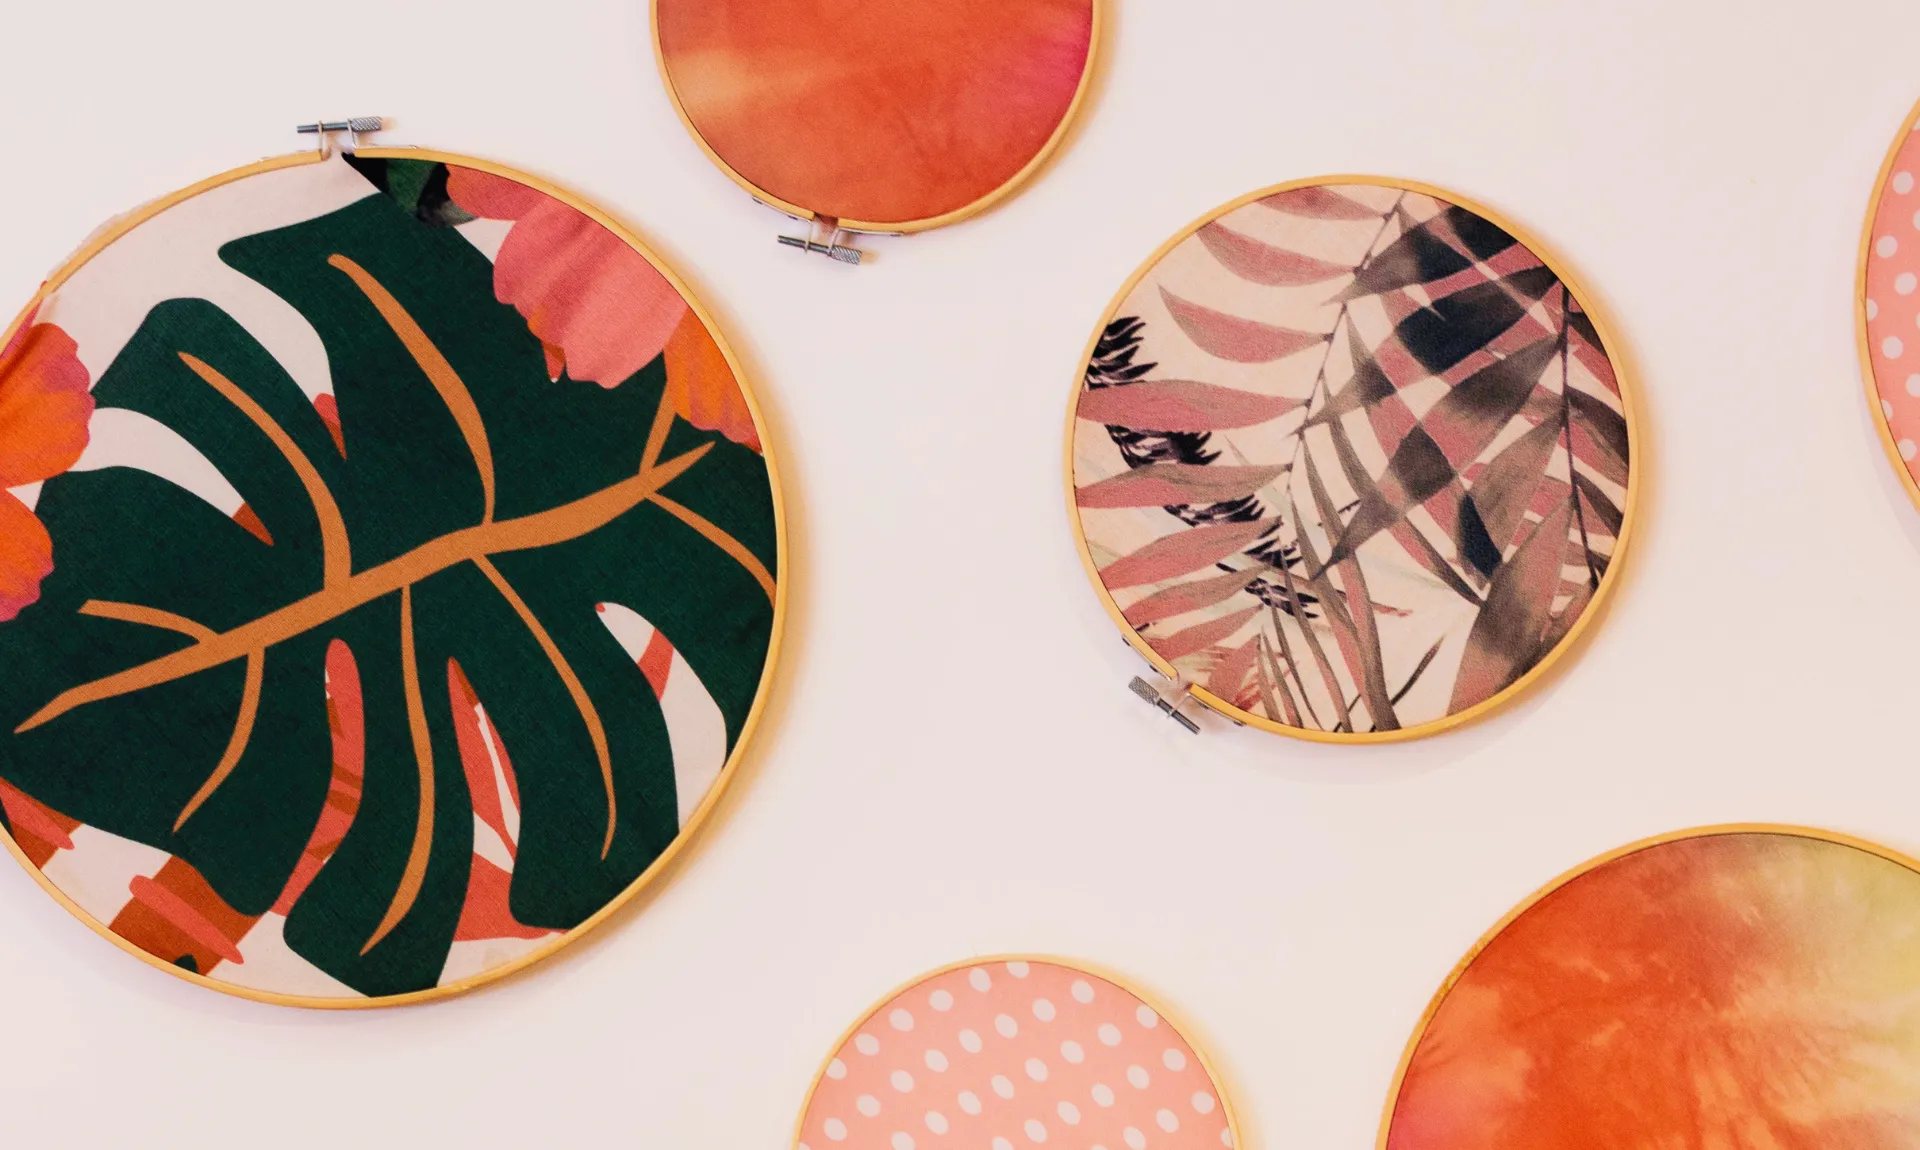
1. Turn Beautiful Fabric Into Wall Art
What You'll Need
A picture frame
Fabric slightly larger than the frame
Scissors
Double-sided tape or spray adhesive
An iron (optional but recommended)
How to Make It
Start by ironing the fabric to remove wrinkles. Even small creases become noticeable once the fabric is behind glass.
Remove the backing from your frame and place it on top of the fabric. Cut around it, leaving about an inch of extra fabric on every side.
Fold the extra fabric around the back of the board, pulling it gently so the front stays smooth. Secure it using double-sided tape or a light coat of spray adhesive.
Place the backing back into the frame and check that the fabric sits straight before closing it.
Style It Like a Decorator
Large frames look beautiful above a console table or dresser, while two matching frames create symmetry above a bed. If you're decorating a hallway, try hanging three smaller frames with coordinating fabrics instead of identical prints.
✨ Why I Like This Project
You can completely change the look of the artwork later by swapping the fabric. One frame can give you dozens of different styles over the years.
2. Give Plain Plant Pots a Makeover
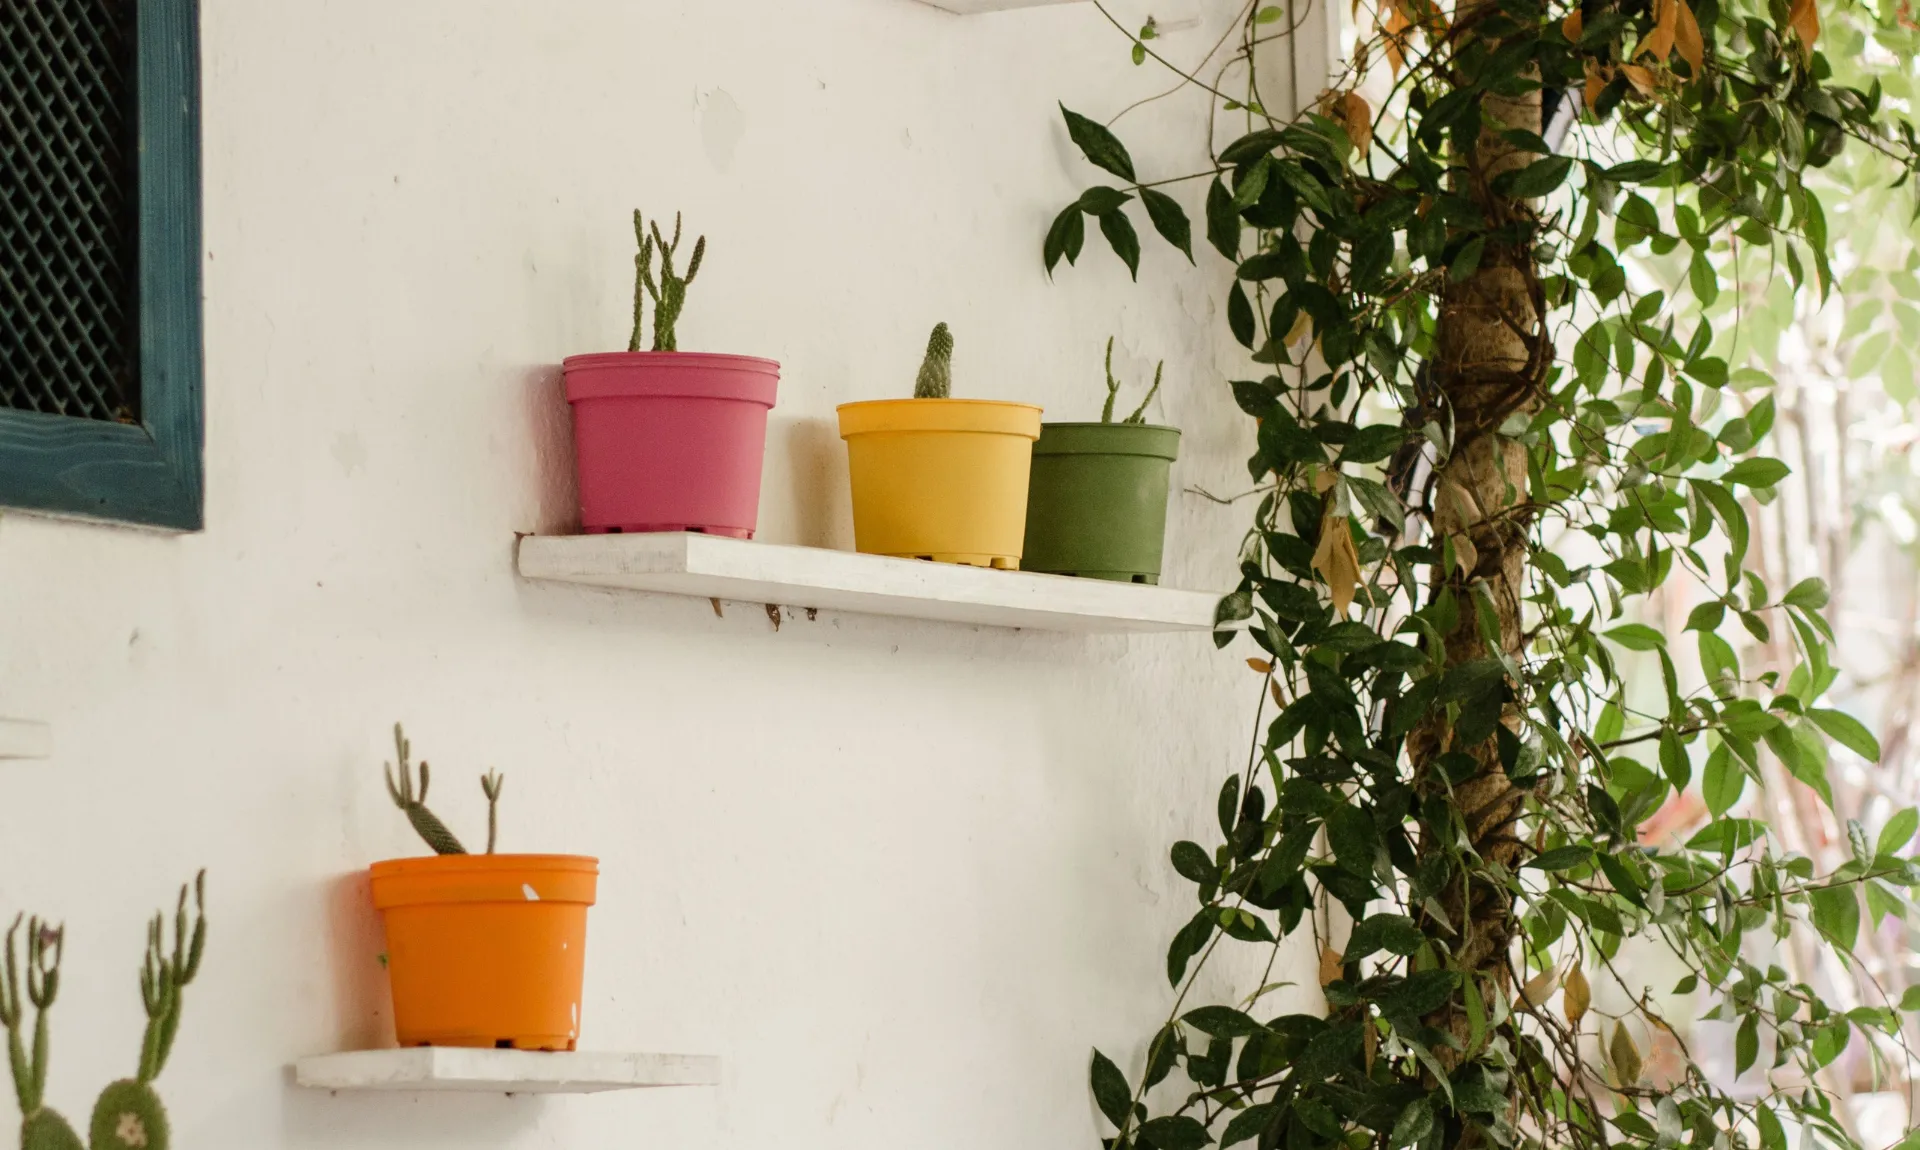
Terracotta pots are inexpensive, but they don't always match your decor. Fortunately, they're one of the easiest things to customize, and you don't need artistic talent to make them look good. A simple coat of paint can completely transform them.
What You'll Need
Terracotta or ceramic plant pot
Acrylic paint
Small paintbrush
Primer (recommended for terracotta)
Matte sealer
How to Make It
Wash the pot thoroughly and let it dry. Dust and dirt can stop the paint from sticking properly.
If you're working with terracotta, apply a thin coat of primer first. Terracotta absorbs paint quickly, so primer helps create an even finish.
Paint two thin coats instead of one thick coat, allowing each layer to dry completely before applying the next. Once everything is dry, finish with a matte sealer to protect the paint from moisture.
Style It Like a Decorator
Instead of placing one painted pot on its own, group two or three together in different heights. Even inexpensive plants look more intentional when they're displayed as a collection.
Soft whites, warm beige, olive green, charcoal, and muted terracotta tones work beautifully in almost every decorating style.
✨ Why I Like This Project
It's one of those rare DIYs that costs very little but makes people think you bought new decor.
3. Create a Gallery Wall Without Guesswork
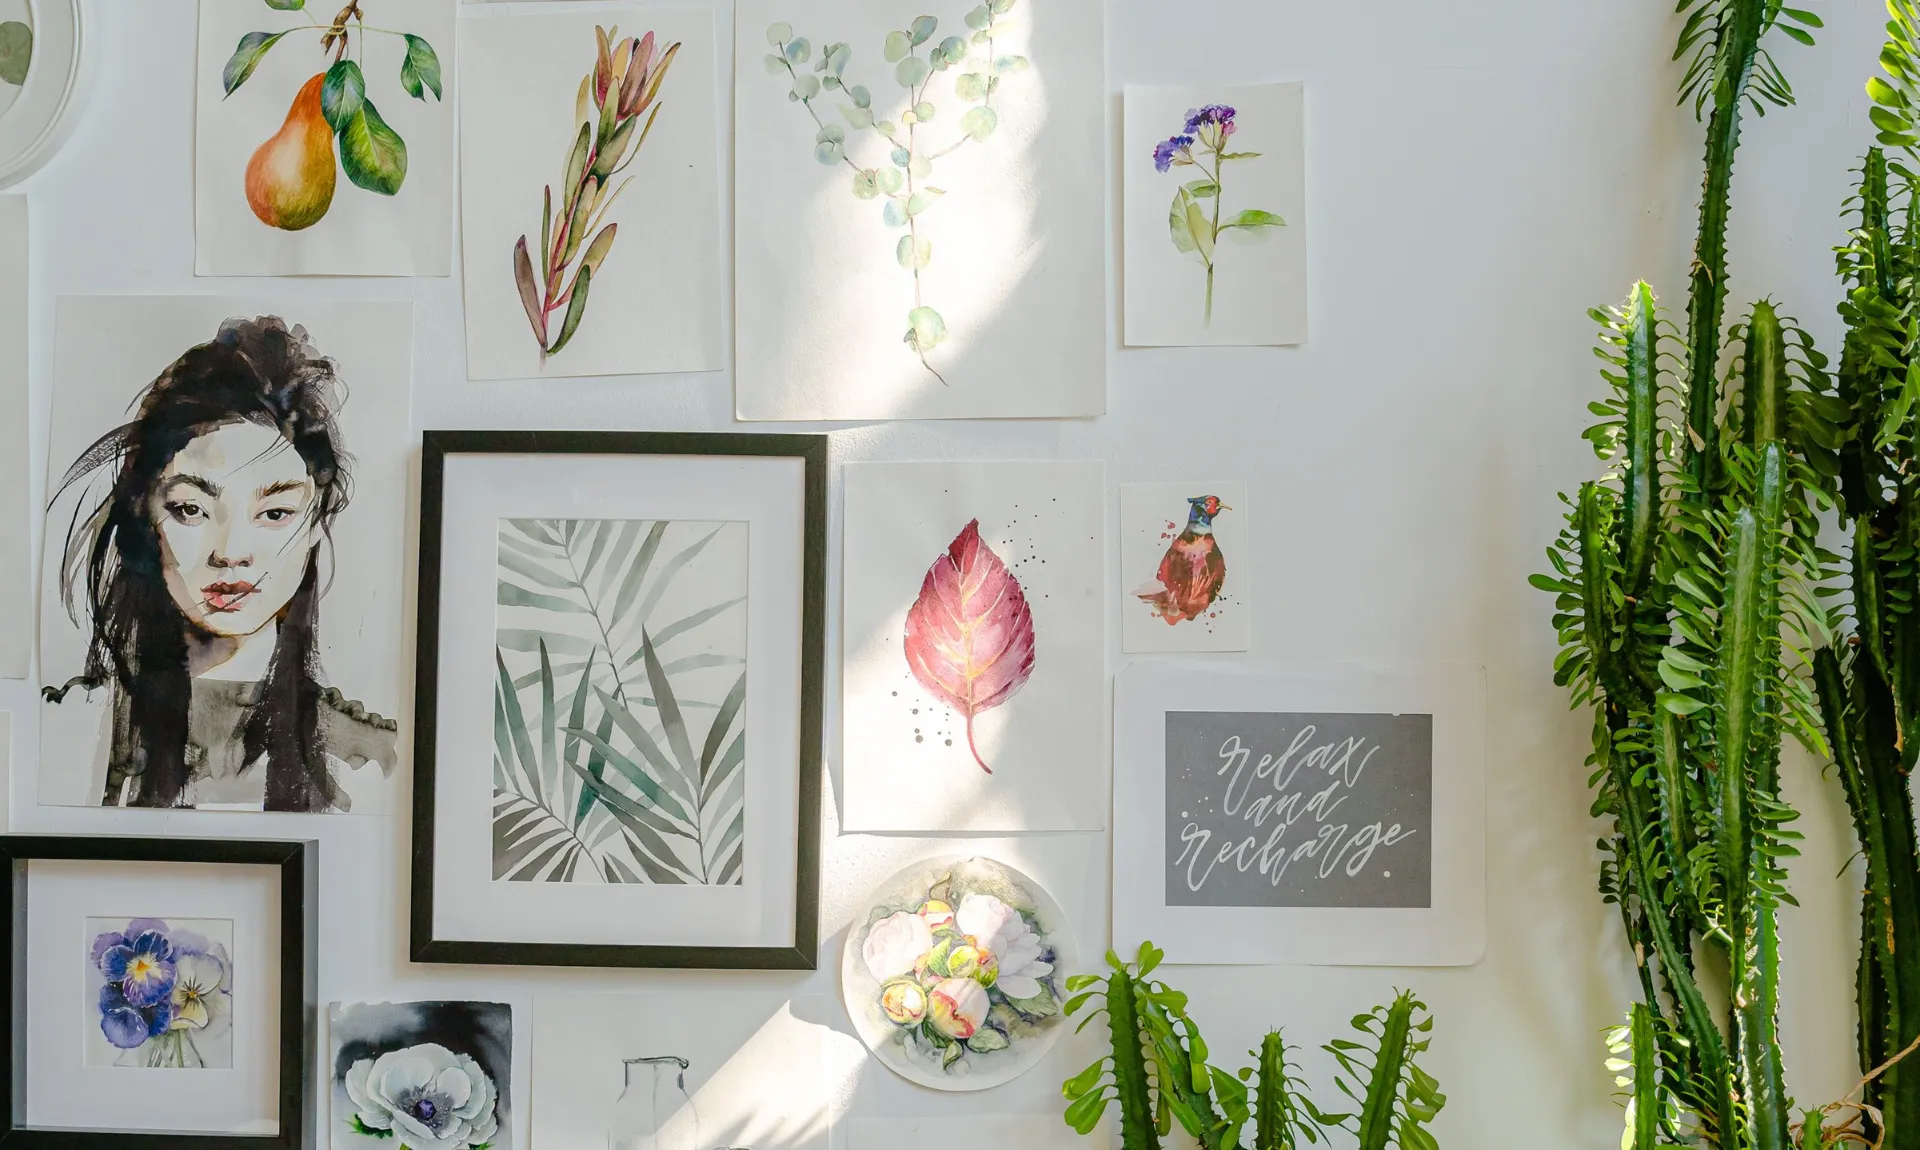
Gallery walls have a reputation for being difficult, but they're actually pretty forgiving if you plan them before picking up a hammer. The biggest mistake beginners make is hanging frames one by one. Instead, build the layout first.
What You'll Need
Picture frames
Printed photos or artwork
Painter's tape
Plain paper
Pencil
Measuring tape
Nails or removable wall strips
How to Make It
Arrange all your frames on the floor first. Move them around until you're happy with the spacing and balance.
Once you've settled on a layout, trace each frame onto plain paper and cut out the shapes.
Tape those paper templates to your wall using painter's tape. Walk around the room and look at them from different angles. This gives you the chance to adjust the arrangement without making unnecessary holes.
When everything feels balanced, replace each paper template with the real frame.
Style It Like a Decorator
Mix different types of artwork instead of filling every frame with family photos.
Try combining travel postcards, typography prints, pressed leaves, black-and-white photography, or simple abstract art. The variety makes the gallery feel collected over time rather than bought all at once.
✨ Why I Like This Project
You don't need expensive artwork to make a wall interesting. Sometimes the memories you've collected are more meaningful than anything you could buy.
4. Make an Upholstered Headboard
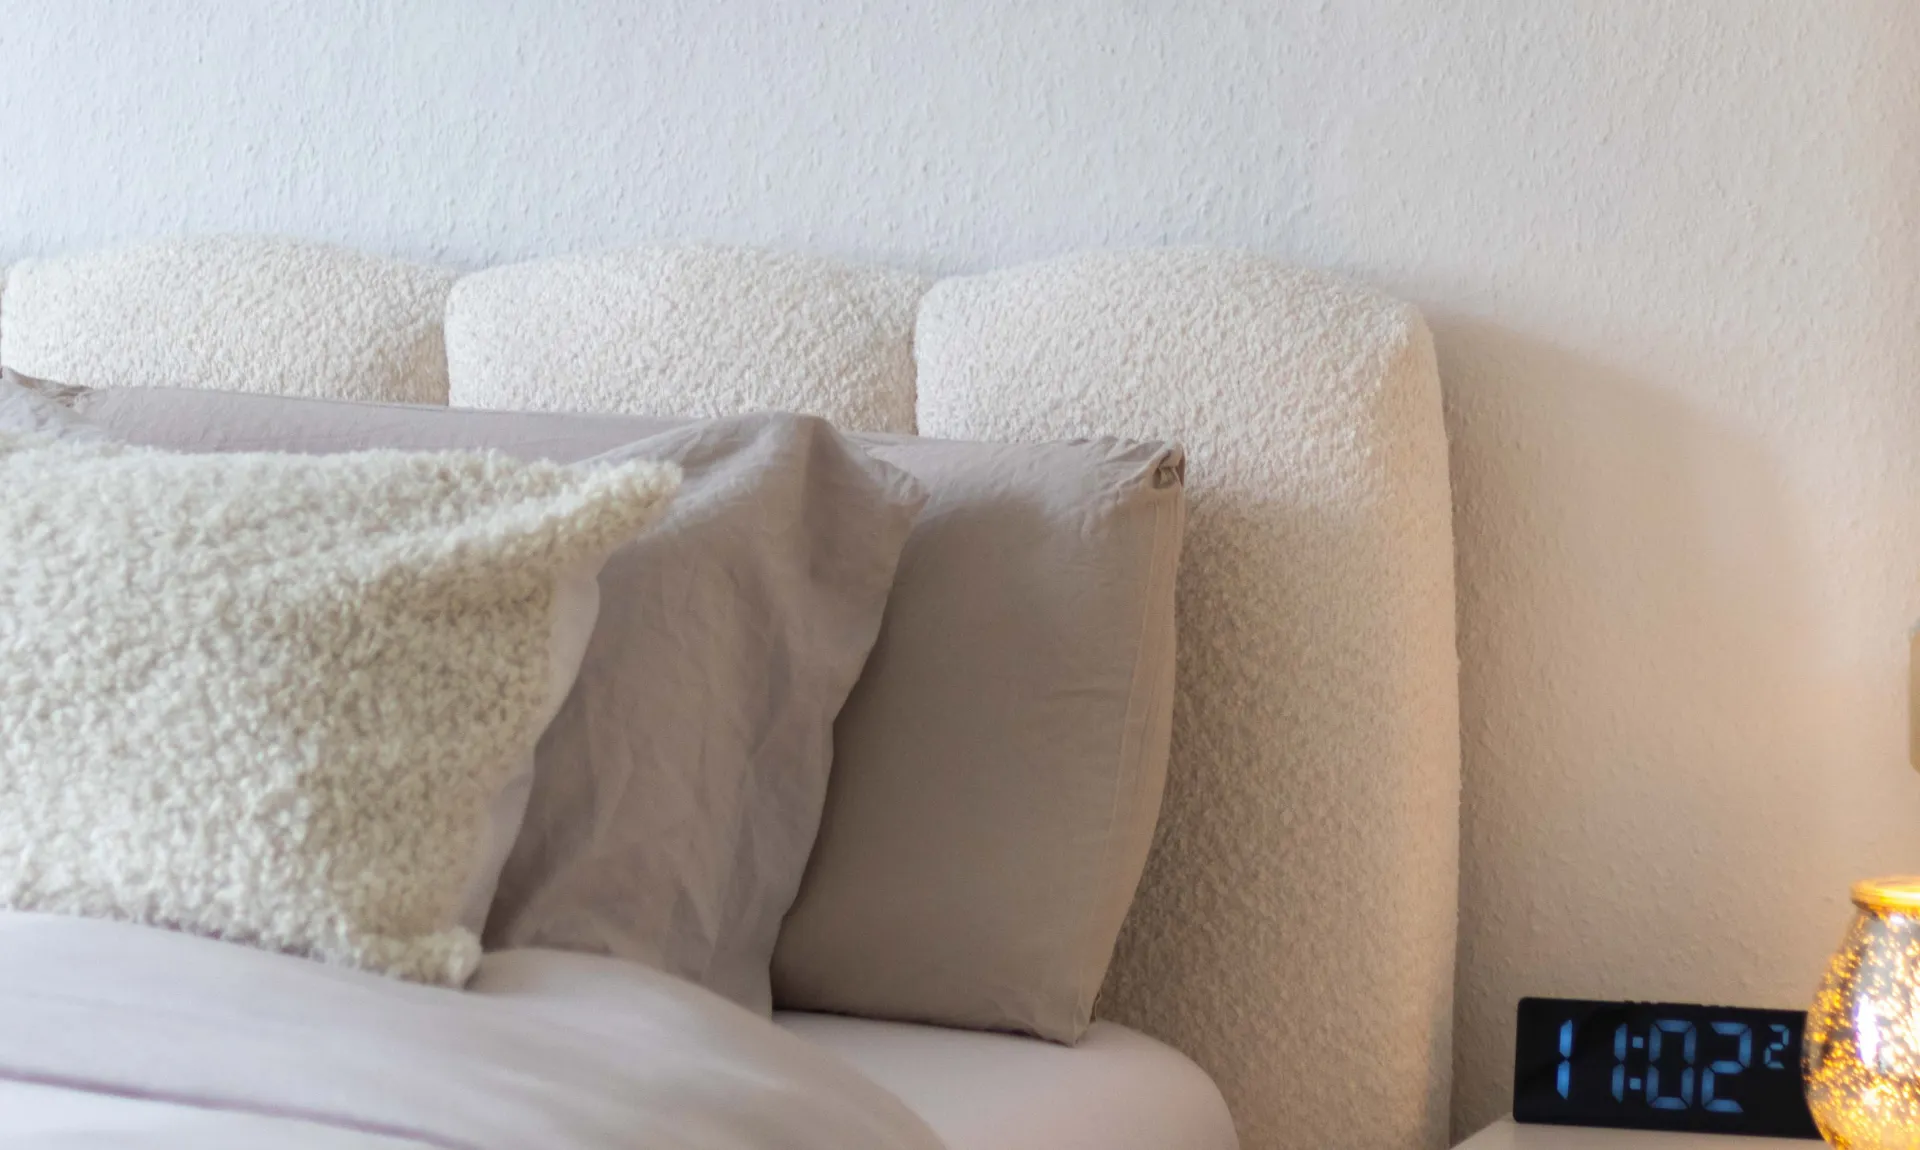
This isn’t entirely a beginner-friendly DIY decor idea, but if you want to do something a little extra to make your space look beautiful, adding an upholstered headboard is definitely worth the shot! The good news is you don't need woodworking skills to build one.
What You'll Need
Foam board or plywood
Upholstery foam
Batting
Fabric of your choice
Staple gun
Scissors
Strong adhesive
How to Make It
Cut your foam board or plywood to the width you want for your headboard.
Glue the upholstery foam onto the board and let it dry according to the adhesive instructions.
Next, lay the batting over the foam and wrap it around the back, securing it neatly with a staple gun. This creates soft, rounded edges.
Finally, place your fabric over the batting. Pull it tightly from all sides before stapling it securely to the back. Work slowly and alternate between opposite sides to keep the fabric smooth.
Once finished, position the headboard behind your bed or mount it securely according to the manufacturer's recommendations for your chosen materials.
Style It Like a Decorator
Neutral fabrics like linen, beige, oatmeal, grey, or textured cotton are timeless and easy to decorate around. If you enjoy changing your bedding often, a neutral headboard gives you much more flexibility.
✨ Why I Like This Project
It changes the entire feel of a bedroom. People often think they've outgrown their furniture, when in reality the room just needs a proper focal point.
5. Turn Ordinary Cardboard Boxes Into Stylish Storage
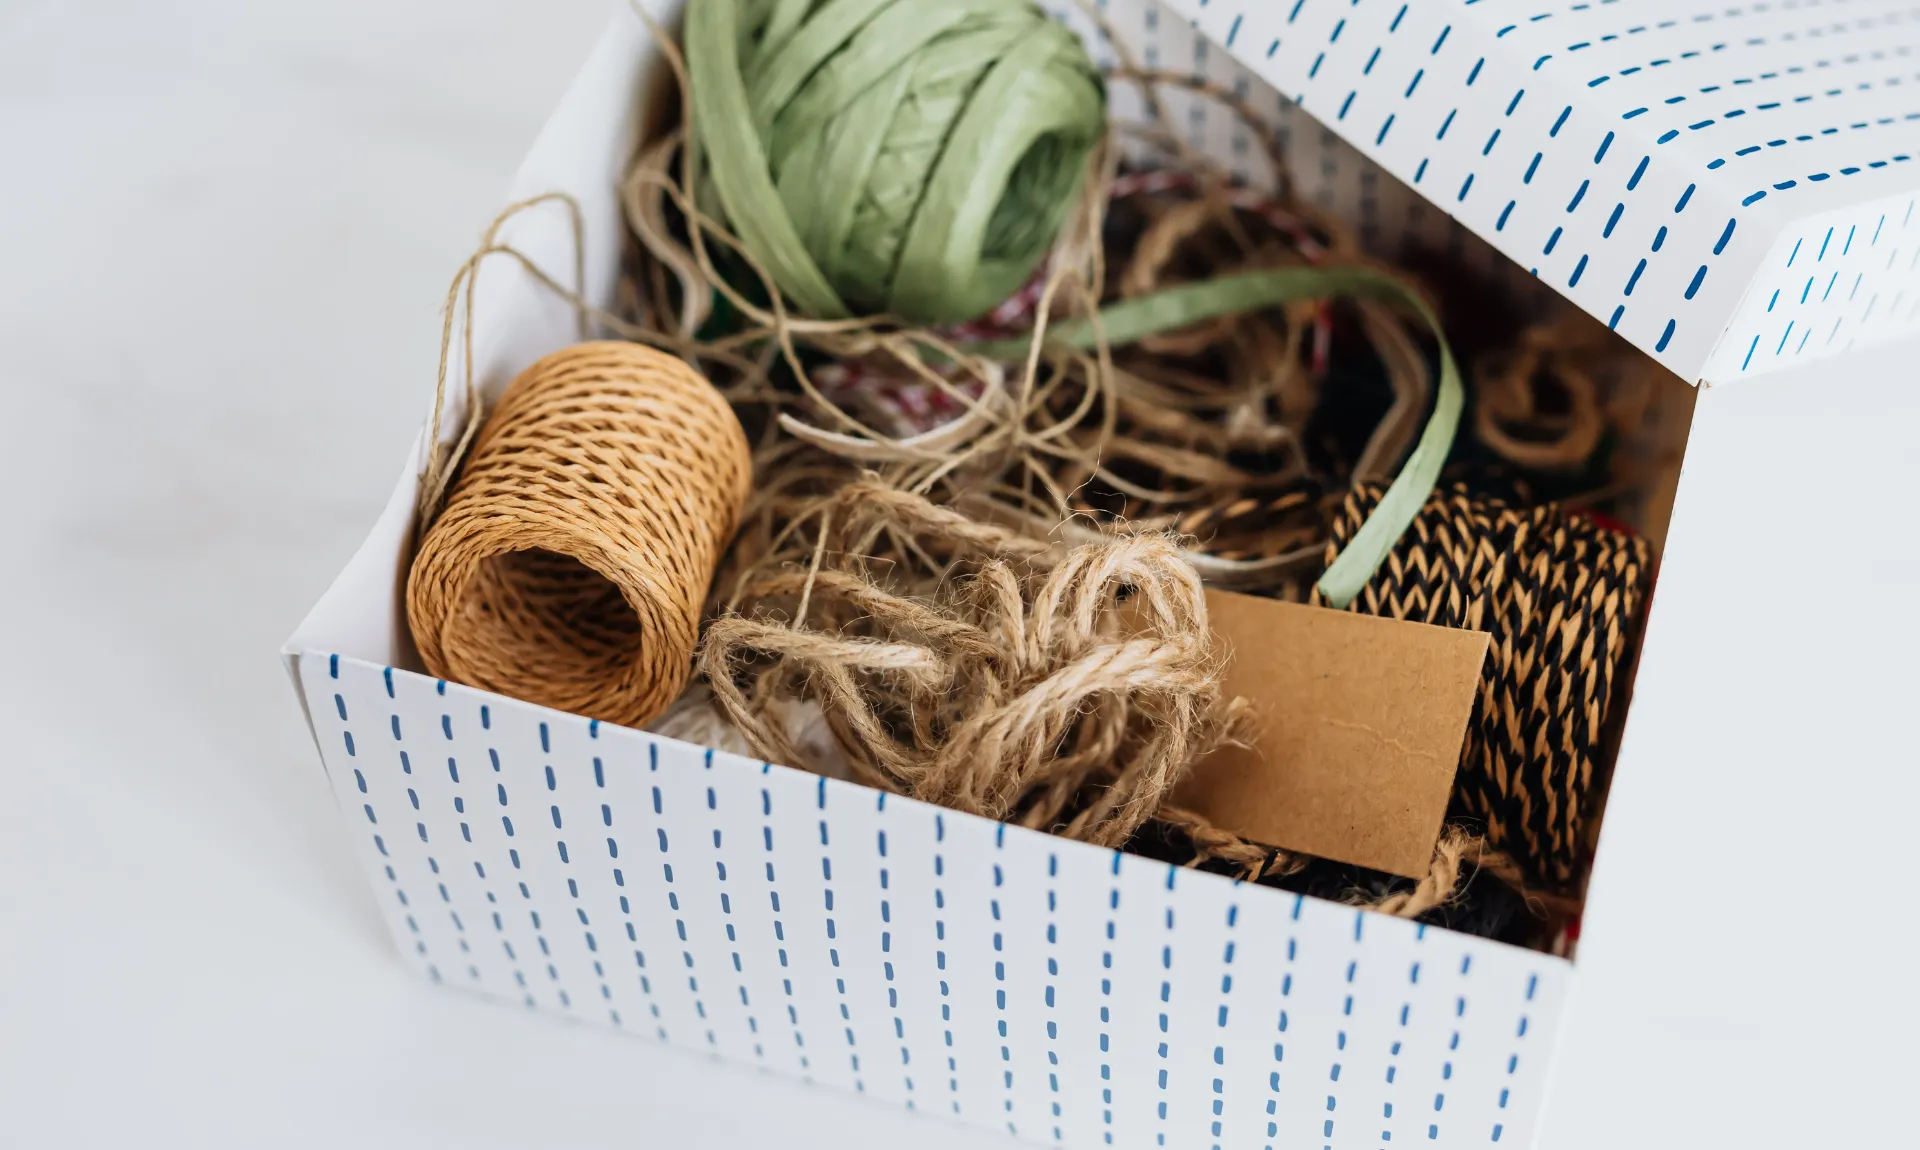
If you've ever looked around your home and thought, "Where is all this clutter coming from?", this project is for you. Before you spend money on decorative storage baskets, take a look at the sturdy cardboard boxes you already have. With a little fabric and a few simple supplies, you can turn them into storage that actually looks good sitting on a shelf. They're perfect for organizing chargers, craft supplies, stationery, toys, or anything else that tends to create visual clutter.
What You'll Need
A sturdy cardboard box
Fabric, contact paper, or peel-and-stick wallpaper
Scissors
Hot glue gun or strong craft glue
Ribbon, rope, or drawer handles (optional)
Labels (optional)
How to Make It
Choose a box that's still in good condition. Remove any tape, labels, or damaged sections so you have a clean surface to work with.
Lay your fabric or contact paper flat and place the box on top. Cut enough material to wrap around all sides, leaving an extra inch so you can neatly fold the edges inside.
If you're using fabric, apply hot glue a little at a time instead of covering the entire box at once. This gives you more control and helps prevent wrinkles. Pull the fabric gently as you go so it stays smooth.
Fold the extra fabric over the top edge and glue it inside the box for a cleaner finish.
If you'd like, add rope handles to each side or stick on a simple label so you know what's inside.
Style It Like a Decorator
Instead of using different fabrics for every box, stick to one color palette. Matching storage instantly makes shelves look calmer and more organized.
✨ Why I Like This Project
Good storage isn't just practical, it makes a room feel bigger because your eyes aren't constantly distracted by clutter.
6. Create a Coffee Table Centerpiece That Doesn't Feel Overdone
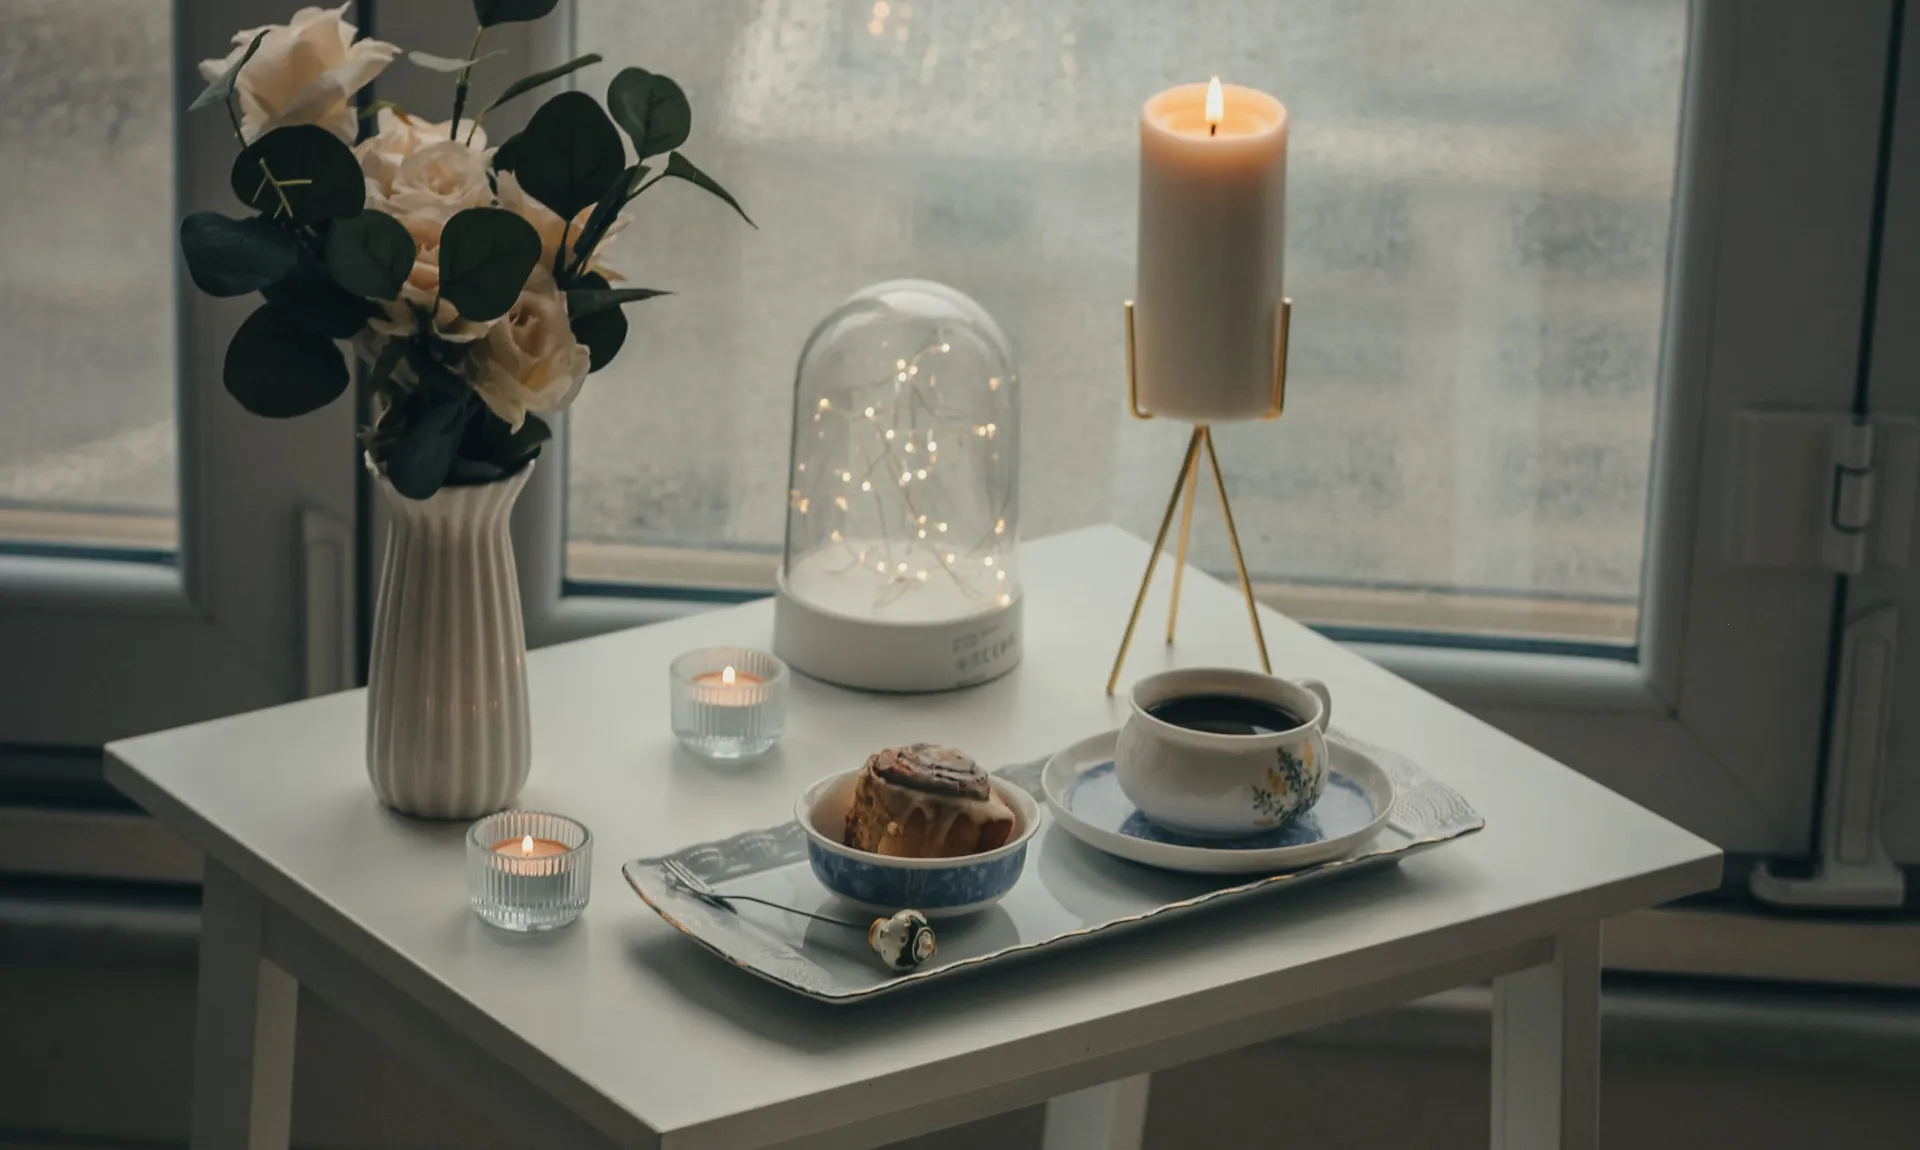
What You'll Need
A decorative tray
One or two coffee table books
A candle
A small plant or vase
One decorative object (like a bowl, beads, or sculpture)
How to Put It Together
Start with the tray. It helps group everything together so the arrangement feels intentional instead of random.
If you're using coffee table books, stack one or two inside the tray. Place your candle on top of the books or beside them.
Add a small plant or vase to introduce a little height, then finish with one decorative object that adds texture or personality.
Once everything is in place, take one item away.
Seriously.
One of the easiest mistakes beginners make is adding too much. Leaving a little empty space often makes the arrangement look more expensive.
Style It Like a Decorator
Try combining different materials. For example, a woven tray, ceramic vase, glass candle, and wooden beads create contrast that feels interesting without being busy.
✨ Why I Like This Project
You can completely refresh your living room just by rearranging things you already own.
7. Create a Cozy Reading Corner
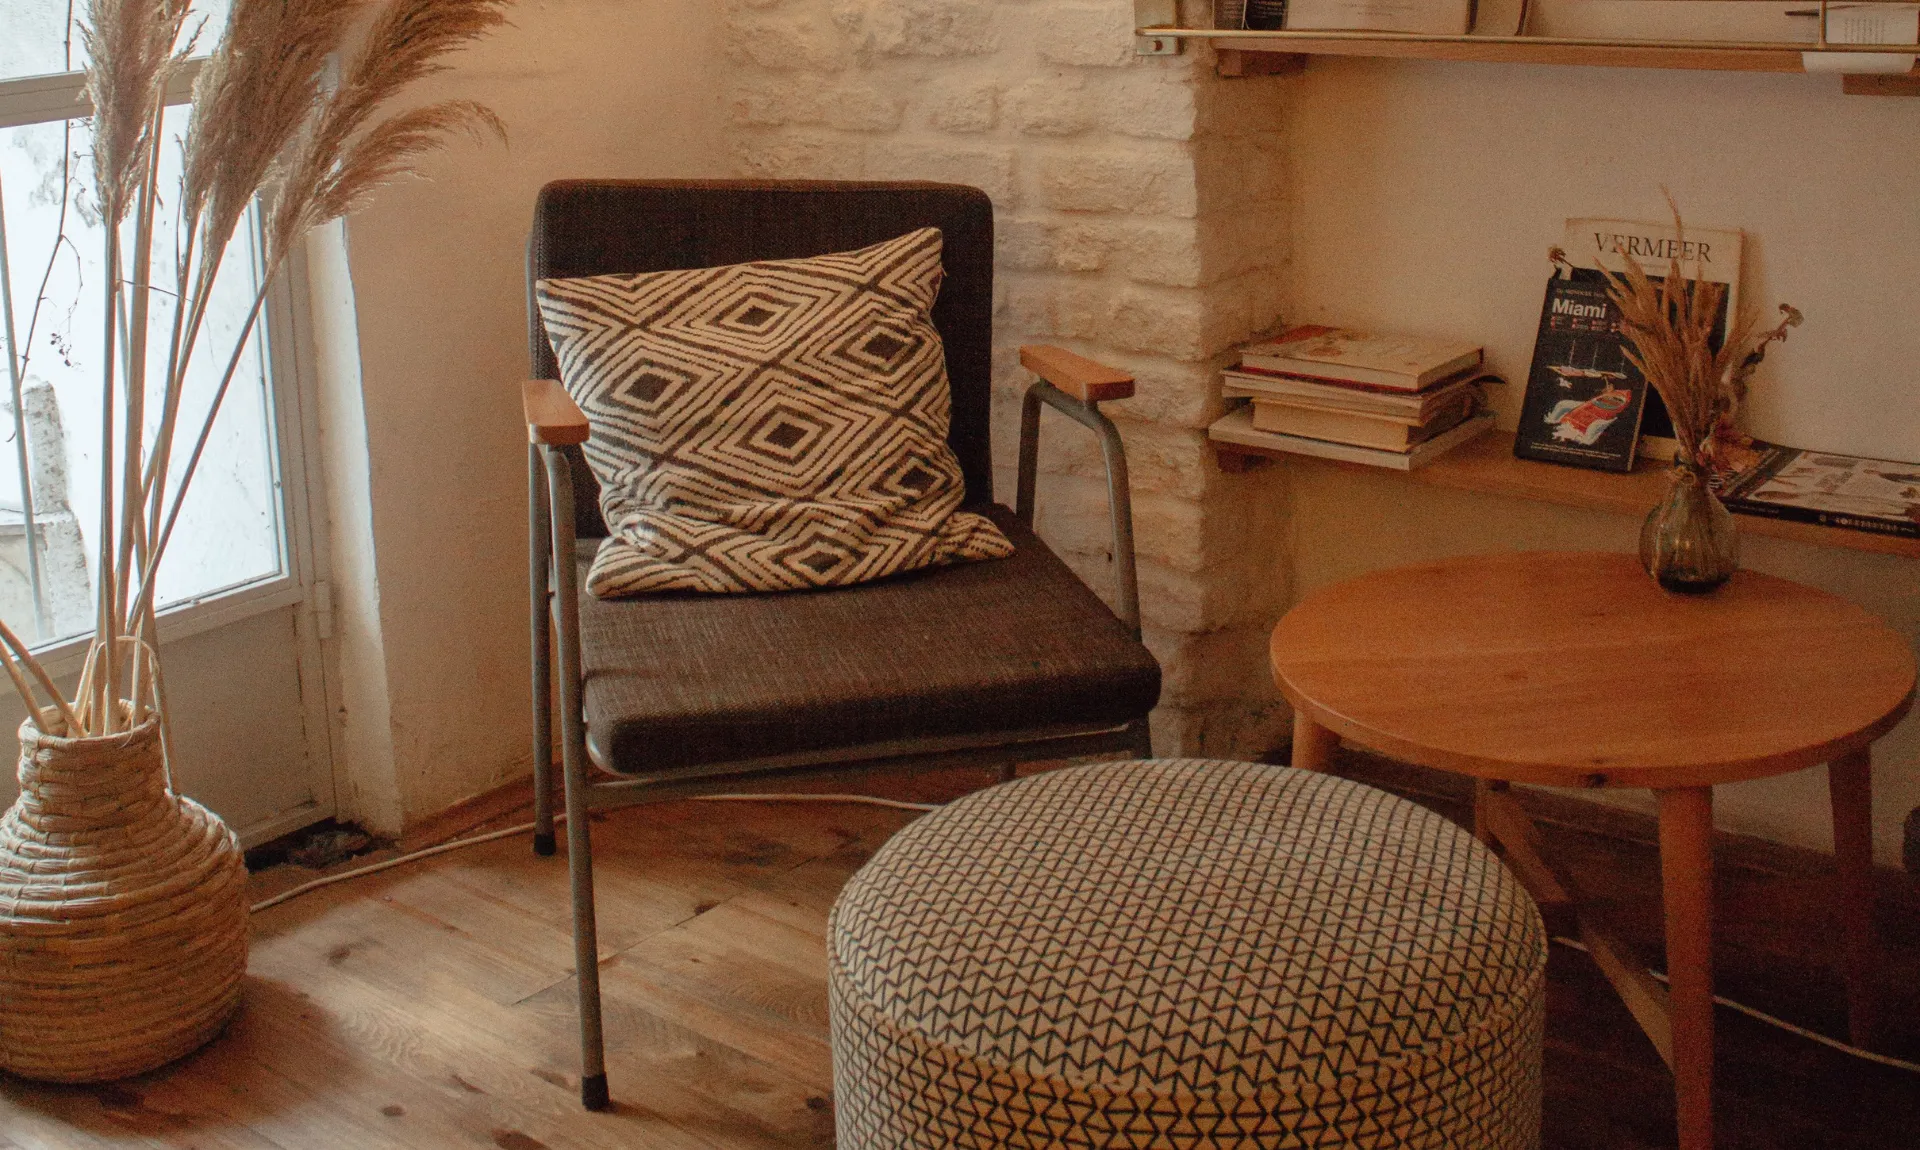
Not every home has space for a dedicated library, but almost every home has room for a comfortable reading corner. It doesn't have to be elaborate. In fact, the simpler it is, the more likely you'll actually use it.
What You'll Need
A comfortable chair
A small side table
A lamp
A throw blanket
A cushion
A basket for books
How to Put It Together
Find a quiet corner with as much natural light as possible. Place your chair so it's easy to reach the side table without stretching.
Add a lamp if you enjoy reading in the evenings, then drape a throw blanket casually over one side of the chair. Place a cushion where it actually supports your back instead of just looking decorative.
Finally, keep a basket beside the chair with the books you're currently reading. It keeps the area tidy while making it easier to reach for your next chapter.
Style It Like a Decorator
Don't overload the space with accessories. One piece of artwork above the chair and a small plant nearby are usually enough.
The goal is to create a corner you want to sit in—not one you're afraid to disturb.
✨ Why I Like This Project
A reading corner isn't just about decorating. It quietly encourages you to slow down, put your phone down, and spend a little more time doing something you enjoy.
8. Refresh Old Furniture With Paint (But Choose Wisely)
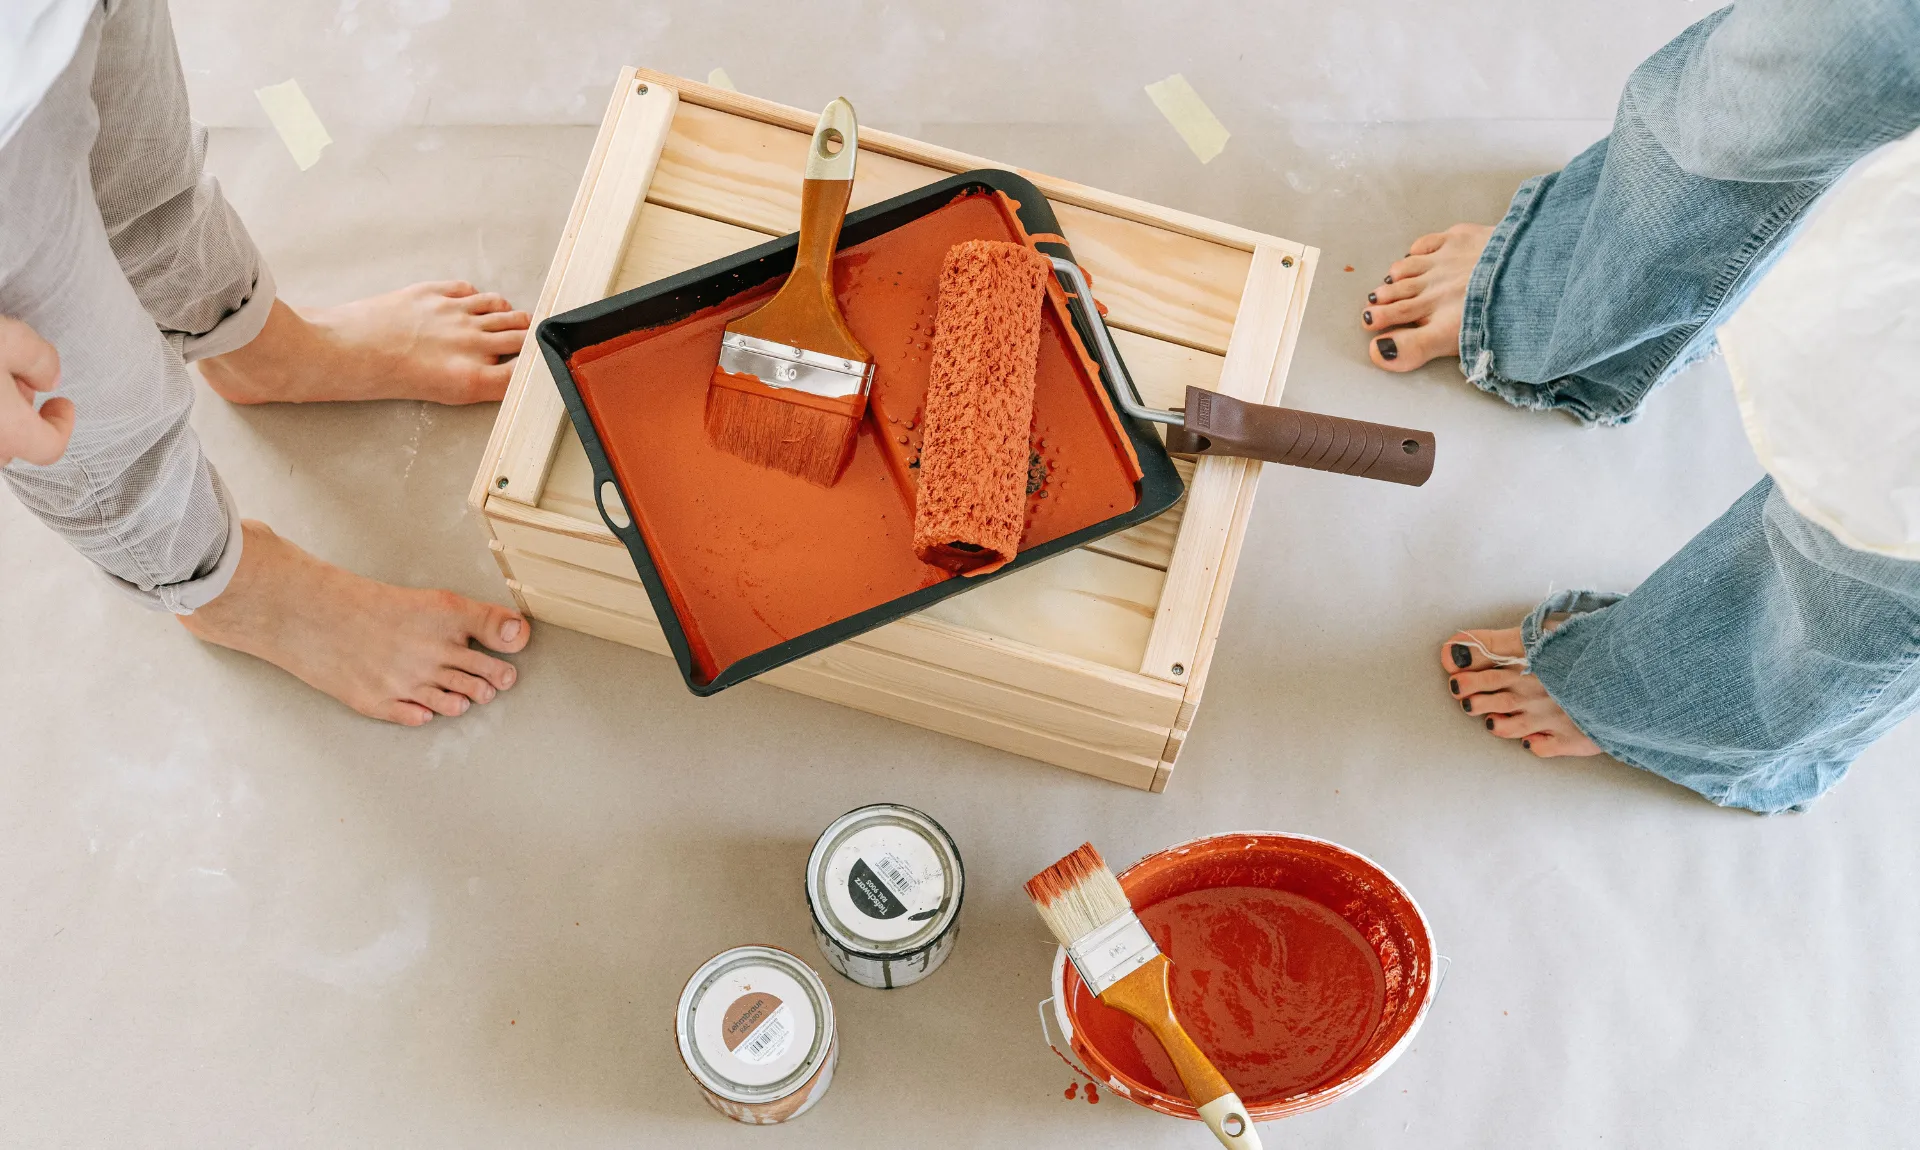
Painting furniture is one of the most popular DIY projects, but here's something many blogs won't tell you:
Not every piece of furniture needs paint. Sometimes beautiful wood grain is worth keeping.
But if you have an old side table, bookshelf, or cabinet that's seen better days, a fresh coat of paint can give it an entirely new life.
What You'll Need
Sandpaper
Damp cloth
Primer
Furniture paint
Paint roller or brush
Protective top coat
How to Do It
Start by cleaning the furniture thoroughly. Dust, grease, and fingerprints can stop paint from sticking properly.
Lightly sand the surface, not to remove the finish completely, but to help the primer grip better. Wipe away the dust with a damp cloth and let the piece dry.
Apply a thin coat of primer and wait until it's fully dry before painting.
When it's time to paint, use several light coats instead of trying to cover everything at once. Thin coats create a smoother finish and are much less likely to drip.
Once the paint has cured, apply a protective top coat if the furniture will be used regularly.
Style It Like a Decorator
Changing the hardware can make just as much impact as the paint itself. Swapping old knobs or handles for modern ones is a small detail that often makes furniture look brand new.
✨ Why I Like This Project
Sometimes all a piece of furniture needs is a second chance—not a trip to the curb.
Before You Start Your First DIY Project...
If you've never tried DIY before, here are a few things I'd keep in mind.
Start Small
You don't need to transform an entire room in one weekend. Finishing one project successfully is far more satisfying than leaving five half-finished ones around the house.
Measure Twice
Whether you're cutting fabric, hanging artwork, or buying storage boxes, taking an extra minute to measure first can save you from wasting both time and money.
Buy Supplies for One Project at a Time
It's easy to get excited and fill your shopping cart with paint, brushes, baskets, and fabric "for future projects."
Try not to. Complete one project first, then decide what's next.
Don't Chase Perfection
Your first DIY project probably won't look exactly like the photo you saved on Pinterest, and that's okay. The little imperfections are often what make handmade decor feel warm, personal, and uniquely yours.
Final Thoughts
DIY doesn't have to be complicated to make a difference.
You don't need expensive tools, professional skills, or a dedicated workshop to create a home that feels beautiful. Sometimes the smallest projects, a framed piece of fabric, a freshly painted plant pot, or a thoughtfully styled coffee table, have the biggest impact because they reflect your personality.
If you're just starting out, pick one project from this list and give yourself permission to learn as you go. Decorating your home isn't a race, and there's no prize for finishing everything in a weekend.
A home that feels personal is built one thoughtful project at a time.
Continue Reading
If you enjoyed these beginner-friendly DIY ideas, here are a few more budget decorating guides you'll love:
Frequently Asked Questions
What is the easiest DIY home decor project for beginners?
Framing fabric, painting plant pots, and creating a gallery wall are among the easiest DIY home decor ideas for beginners. They require very few tools, are affordable, and can usually be completed in an afternoon.
How much should I budget for beginner DIY home decor?
Most beginner-friendly projects can be completed for $15–$50, especially if you reuse items you already own or shop at thrift stores and discount retailers.
Do I need power tools for these DIY projects?
No. Most of the ideas in this guide only require basic supplies like scissors, glue, paint, or a staple gun. They're designed specifically for beginners with little or no DIY experience.
How can I make DIY projects look more professional?
Focus on neat finishes, choose a consistent color palette, and avoid overcrowding your space with decorations. Taking your time and paying attention to small details often makes a bigger difference than spending more money.